If you’re a paid search advertiser working with a lead generation client, you might often report on the total leads generated by paid search each month. But what happens when your client wants to know about the quality of the leads your campaigns are providing? If your client uses Salesforce as their CRM system, you can link Salesforce directly to Google Ads to answer that question. This blog post will guide you through the process of setting up an offline conversion import system from Salesforce to Google Ads.
Prerequisites
Before you start, ensure that you meet the following qualifications:
-
- You will need to collaborate with the Salesforce account manager and the website manager.
-
- This process is specific to a Salesforce to Google Ads connection. If your client uses a different CRM system, the process will be different.
-
- Auto-tagging should be enabled in the Google Ads account to track Google Click IDs (GCLIDs). GCLIDs expire after 90 days, so ensure your client has a click-to-conversion cycle that is less than 90 days.
Step-by-Step Guide
Step 1: Set Up Salesforce to Capture the GCLID
The Salesforce account manager will need to create a custom GCLID field in the lead and opportunity objects in Salesforce. Capturing the GCLID lets Google Ads know which click to attribute the lead to.
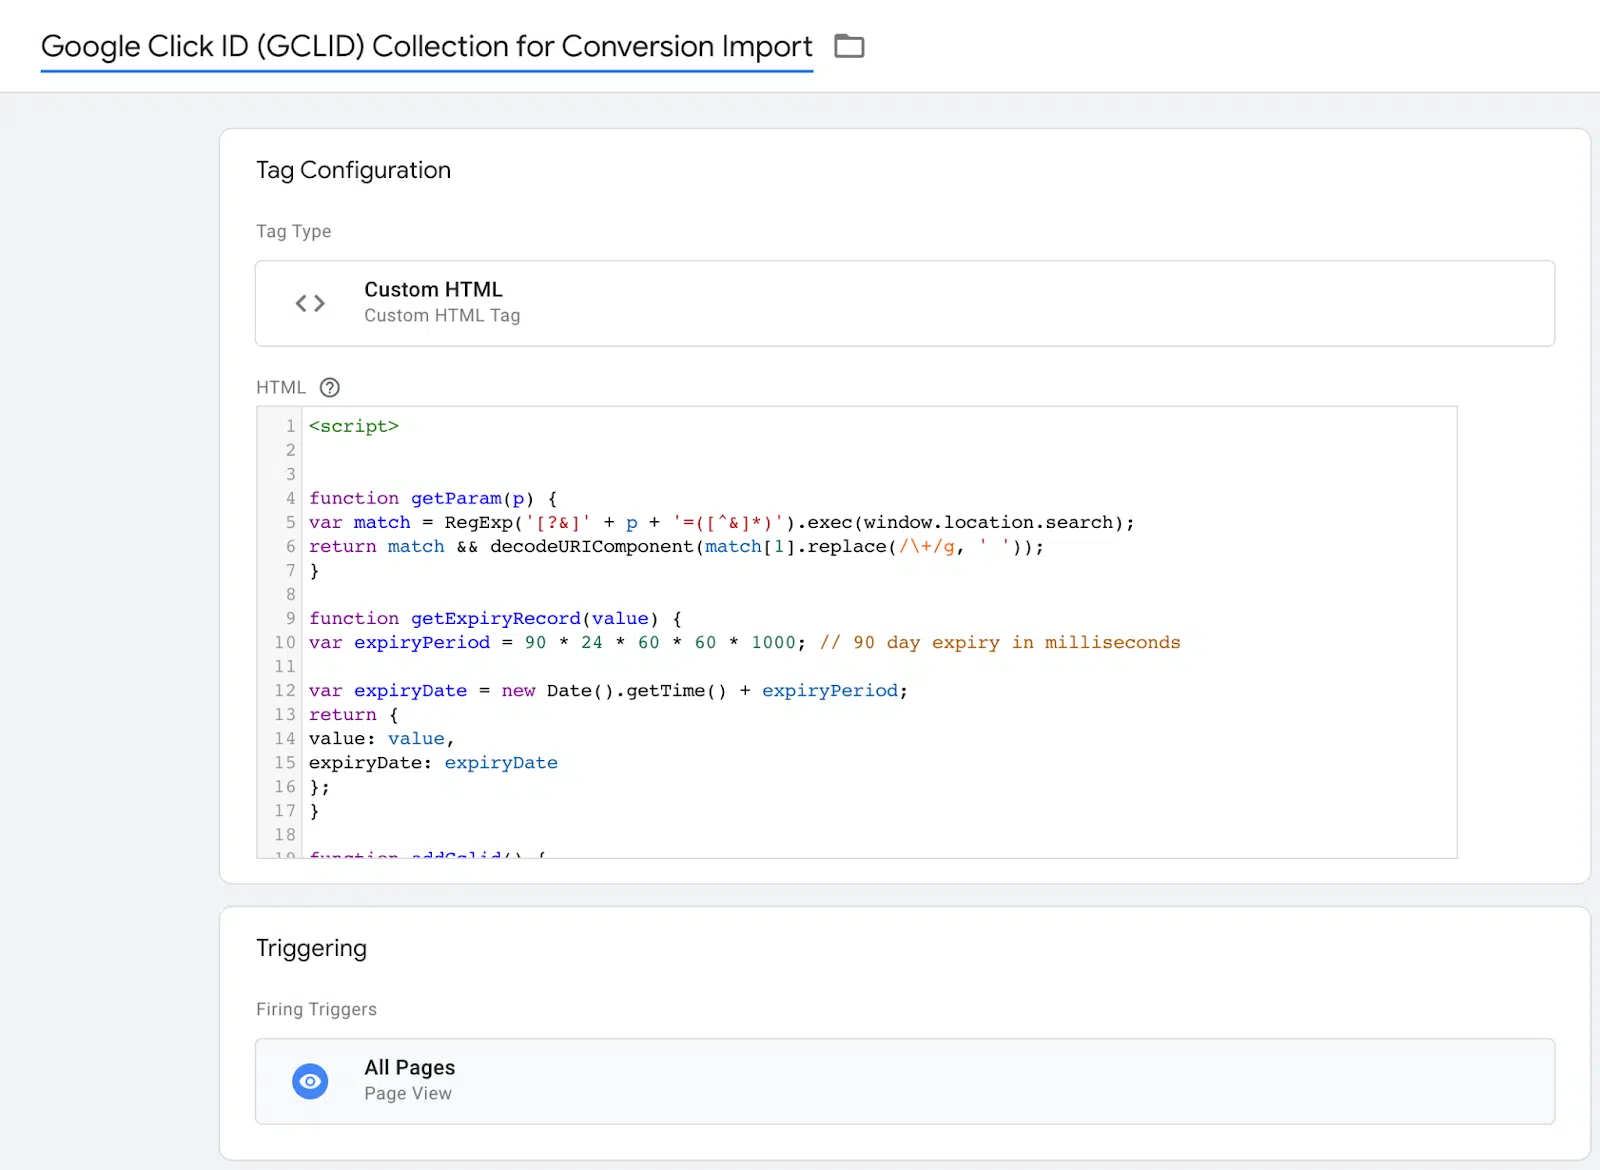
Step 2: Set Up Your Web Forms to Capture the GCLID
The web developer or Salesforce manager will need to generate a standard web-to-lead form. This should include all the fields you want prospects to submit and the lead field “GCLID” as a hidden field. The web developer should note the GCLID input field’s ID for later use and then update the existing forms on the site with this new form HTML code.
Step 3: Pass the GCLID
This step involves embedding JavaScript code that will capture and store the GCLID when a prospective customer submits your web form. Be sure to update the var gclidFormFields line to include the GCLID field ID of the new field added in step two.
Step 4: Test Your System
It’s recommended to perform a test to ensure that the GCLID capture steps are complete. Navigate to the web form on the site, add ?gclid=”test” to the end of the URL, submit a dummy form fill, and check if the “test” parameter can be identified in the Salesforce lead you just submitted.
Step 5: Link Google Ads to Salesforce
Once your GCLID capture system is functioning properly, it’s time to link Salesforce and Google Ads. This will require Salesforce login credentials.
Step 6: Set Up Conversion Actions
Align with your client on which Salesforce milestones to import and record as a conversion in Google Ads. Once milestones are agreed upon for import, select Create New Conversion Action in the Conversion Action column next to that milestone.
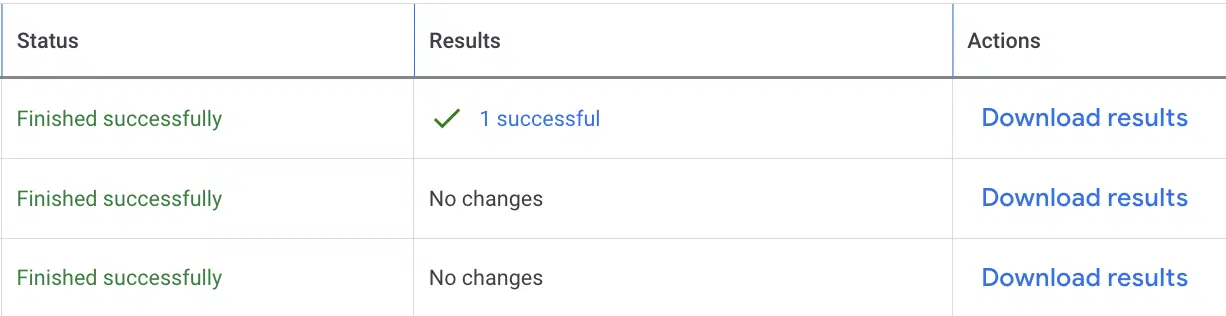
Step 7: Import!
Set up an import schedule. Your account will now automatically import conversions from Salesforce on the schedule you’ve determined. Monitor closely for a few days to ensure everything is working as expected.
And there you have it! You should start seeing GCLID data flowing through Salesforce into Google Ads daily. This will help your client connect the dots between which paid search leads actually closed and drove revenue for their business right in the Google Ads UI.
For more information on digital marketing strategies, check out our services, learn about website design and development, or explore our SEO/SEM marketing solutions.